I'm starting to use Python scripting in Agisoft PhotoScan Pro to batch process the many sets of images of that I want to render into 3D models. There are a few ways to do this, although I had to settle on Agisoft Python Scripting (Option 3) for reasons described below.
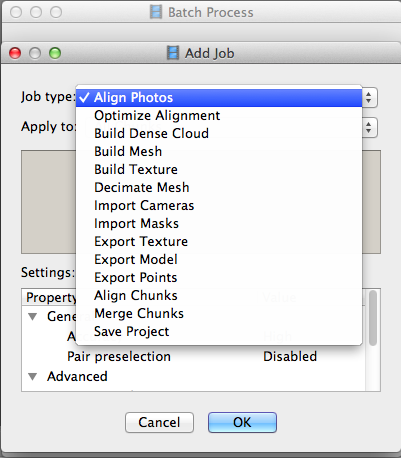
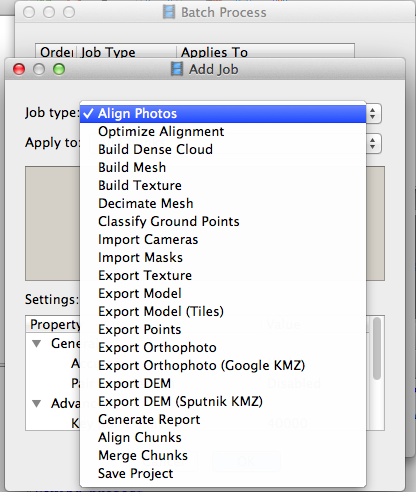
| Option 1) Batch process via drop-down menus. Agisoft PhotoScan, both pro and standard editions, let you create and run batch processes via a set of easy-to-use drop-down menus. No programming required! You can access these by clicking Workflow > Batch Process... There are more tasks you can add to your batch process in the Pro version (details in images below). But here's where batch processing falls short, even in the pro edition... I have a set of 60 or so folders, each with at least a dozen images, that I want to create into 60 different 3D models. I don't have the time or patience to manually upload each set of images and save the renderings in organized folders. I'd rather let my computer run overnight, automatically working through my folders of images, and wake up to a .stl file saved in each folder :) Unfortunately, the batch processing options available via the drop-down menus don't seem to let you add images automatically from folders. I've tried the "Import Cameras" feature and it just fails, without ever asking you to select or input a set of images. After some trial-and-error and searching thru the manual to no avail, I looked into other options. Option 2) Open Source Tools, Python Photogrammetry Toolbox. This is a free tool that would let me do all my rendering in a Python script. I've heard good things, however, apparently the toolbox only runs on Linux and Windows. I'd really like all my processing to run on my Mac for a number of reasons (I travel to remove places with just a tiny MacBook Air that can't run BootCamp). Apparently the Bundler package by Noah Snavely works on Mac and it will render a sparse point cloud from images, and then you can generate a mesh by running Yasutaka Furukawa's Patch-Based Multi-View Stereo program. I spent an hour or so attempting to get this working but it got too complicated so, once again, I looked into other options. That's how I stumbled into Option 3, Python Scripting in Agisoft PhotoScan Pro. Option 3) Python Scripting in Agisoft PhotoScan Pro. Make sure you're reading most up-to-date user manual for this, version 1.1.0 as far as I can tell. For whatever reason, the older version 1.0.0 comes up first on Google searches and it's actually harder to find the most up-to-date version, linked above. (Maybe my referencing this will boost it in search algorithm?! Hello Google!) If you try running the example script in version 1.0.0 of the manual it won't work; yes, I tried that. If you run the example script in version 1.1.0 it will work; yay. Here's a hello world program: |
| import PhotoScan doc = PhotoScan.app.document doc.save("/Users/Grace/Dropbox/My DPhil/Tests/test2.psz") PhotoScan.app.messageBox("hello world") |
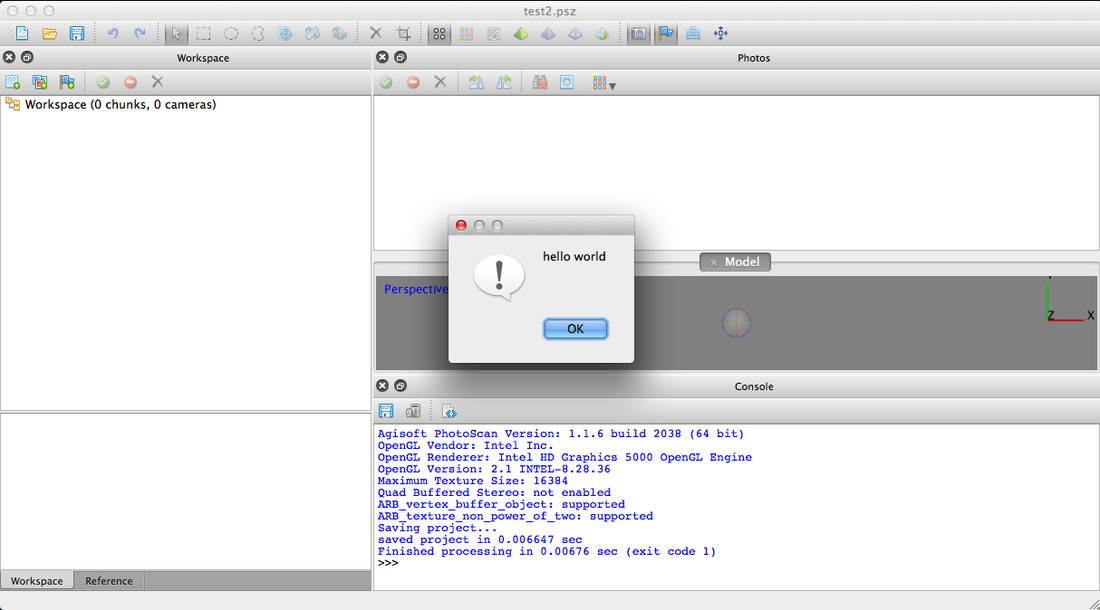
Note: Photoscan.app.messageBox("hello world") will not work, and PhotoScan.Application.messageBox("hello world") will not work either. PhotoScan.app.quit() will work; PhotoScan.Application.quit() won't work. Also, the folder you're saving into (here, /Users/Grace/Dropbox/My DPhil/Tests/) must already exist. If it doesn't, the file test2.psz will not be created and it will not clearly tell you that it wasn't created; it will just tell you "exit code 0" instead of "exit code 1" in the console, as shown below. Finally, beware that test2.psz will overwrite another test2.psz in that location without telling you.
I hope this helps somebody!


